How To Skip “Let’s Connect You To a Network” in Windows 11
During the first run of freshly installed Windows 11, “Let’s Connect You To a Network” screen appears. There is no obvious way in GUI to skip this screen, but you would like to skip it anyway (for example, because drivers for your network adapter are not installed yet).
To skip this screen, you need to create a special registry value (BypassNRO) in the registry key associated with OOBE, and restart your computer to re-enter this phase of Windows 11 setup. All of this can be done solely from the command line, and the rest of this article explains exactly how.
| Contents |
1. Symptoms of the problem
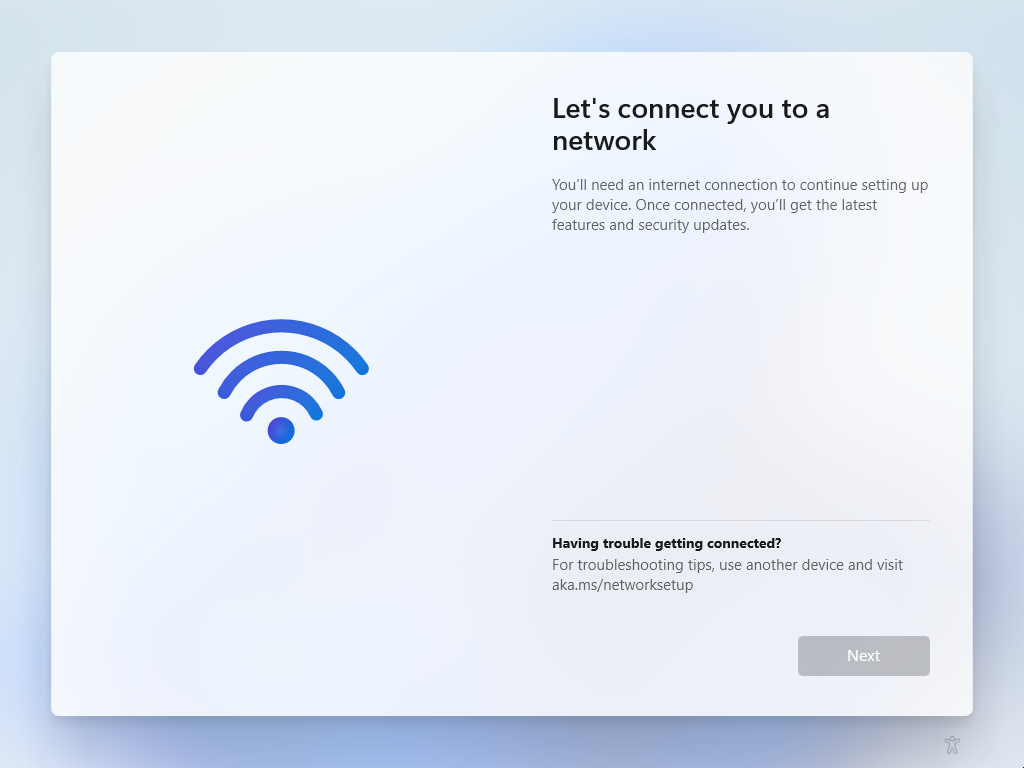
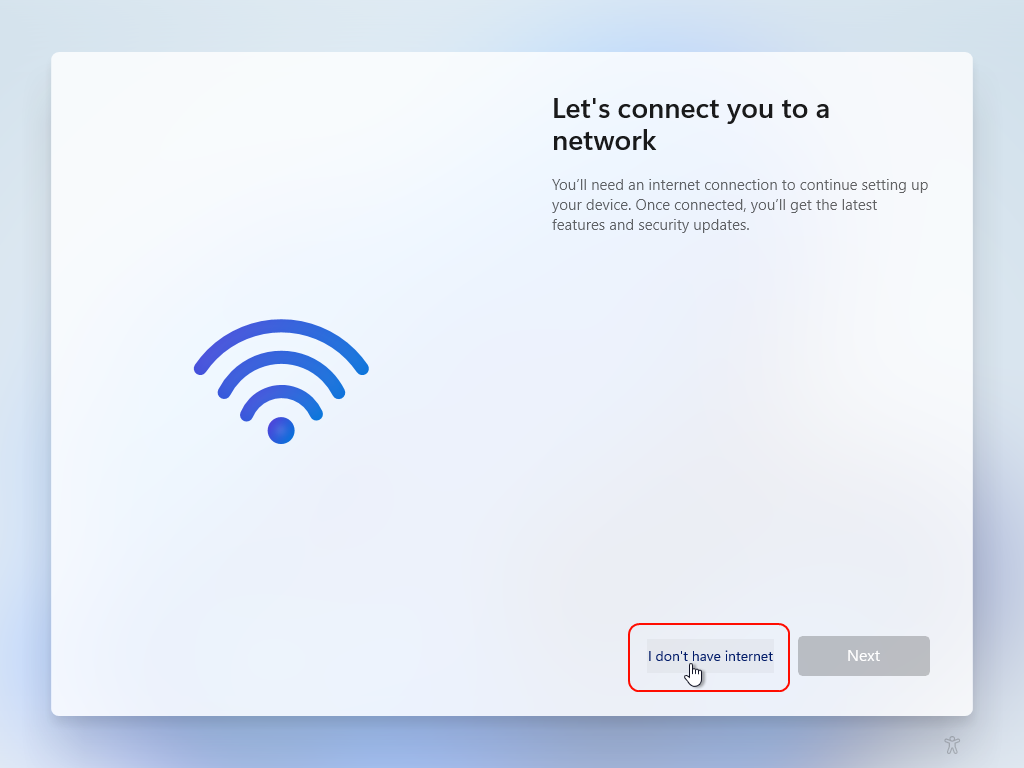
During the first run of freshly installed Windows 11, the following screen appears (“Let’s Connect You To a Network”):
2. Solution in a nutshell
“Let’s Connect You To a Network” screen is displayed by Windows component known as OOBE (“out-of-box experience”), which usually activates during the first run of Windows after completion of the Windows setup.
OOBE, like the rest of Windows, is configured via the Windows Registry, in particuar via the HKEY_LOCAL_MACHINE\SOFTWARE\Microsoft\Windows\CurrentVersion\OOBE registry key.
To bypass “Let’s Connect You To a Network” screen, in the aforementioned registry key, you need to create BypassNRO registry value of type REG_DWORD and set it to 1.
This task is made more difficult by the absence of the Windows GUI (and thus, the lack of mainstream registry editing tools) during the OOBE phase of Windows setup. Fortunately, the command line is available, so the problem can be solved using command line based registry editing tools.
3. Step by step guide
1) Press Shift+F10 to open console window:
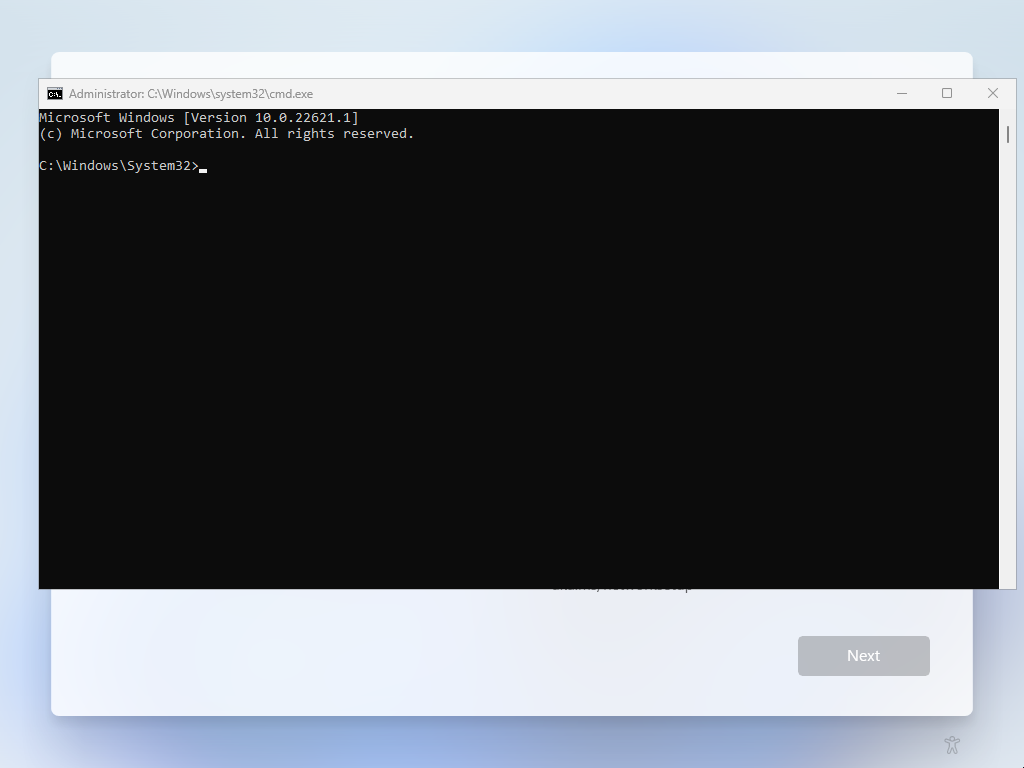
2) Click on the title of newly opened console window to move keyboard input focus to it.
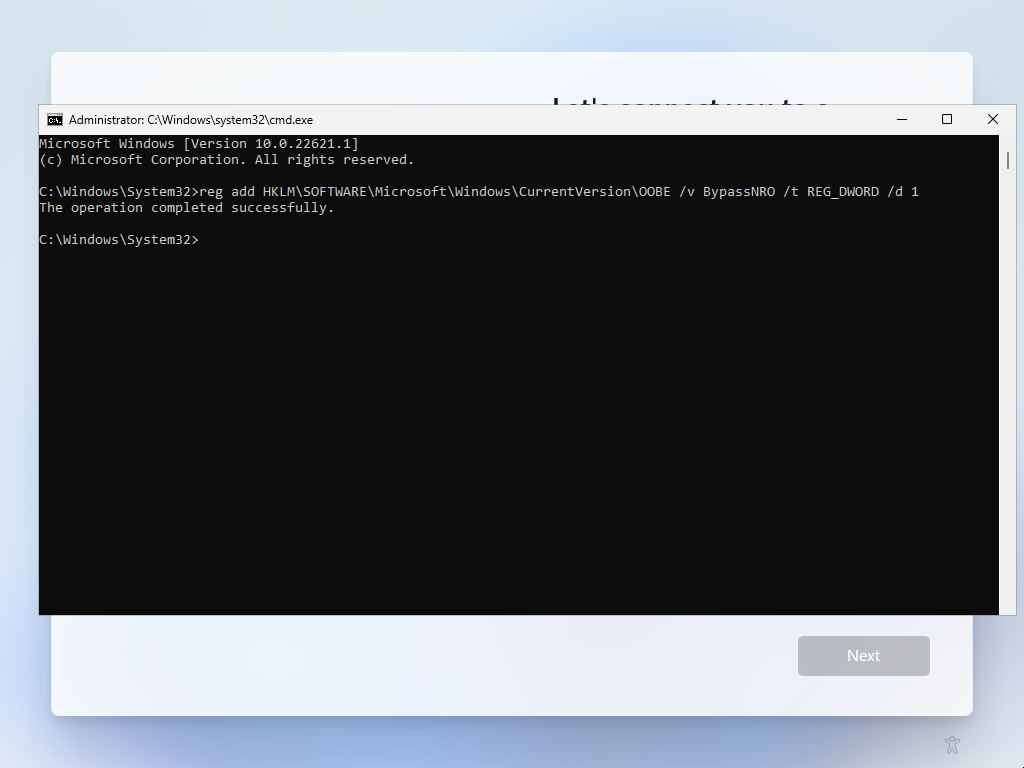
3) Enter the following command into the console window and press Enter
key to run it:
reg add HKLM\SOFTWARE\Microsoft\Windows\CurrentVersion\OOBE
/v BypassNRO /t REG_DWORD /d 1
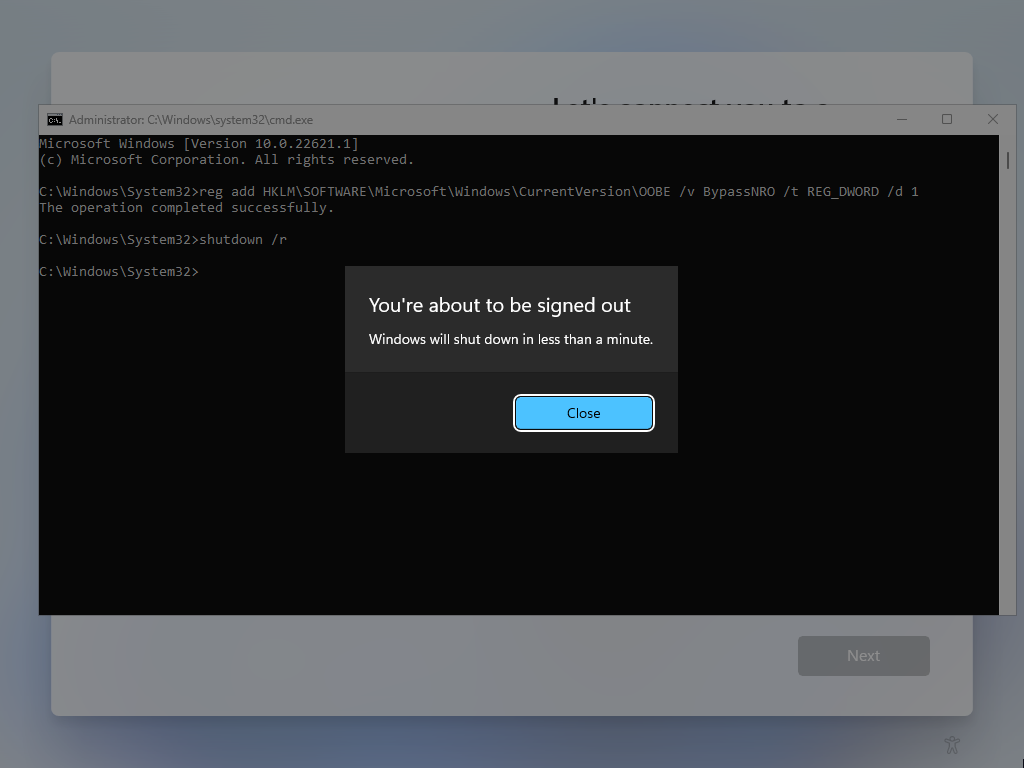
4) Enter shutdown /r command into the console window
and press Enter key to reboot Windows from console:
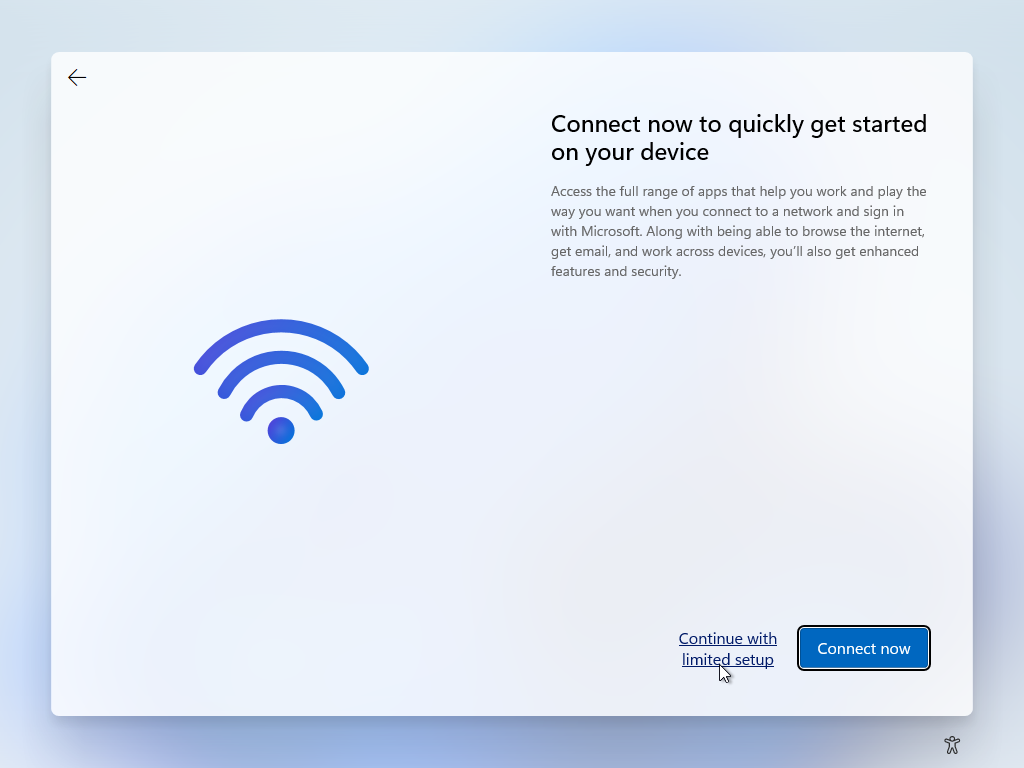
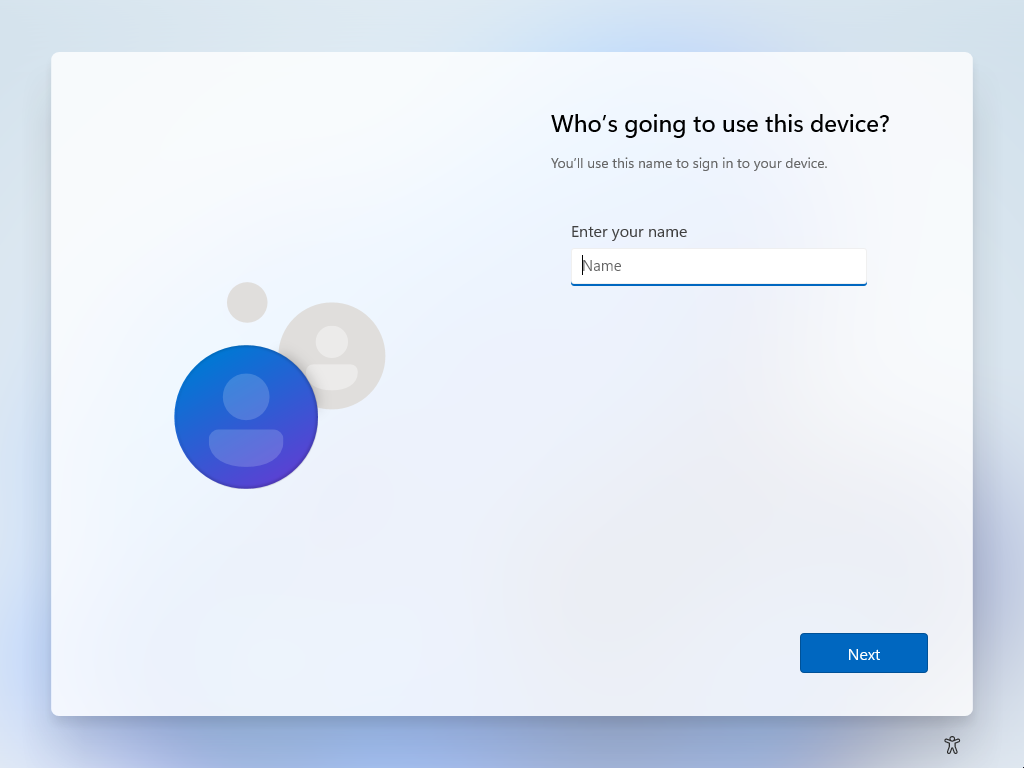
5) When Windows 11 reboots and re-enters OOBE phase, it will allow you to proceed without connecting to a network and then will ask create an offline user account. For extra reliability, it’s recommended to unplug the network cable here:
4. Alternative way
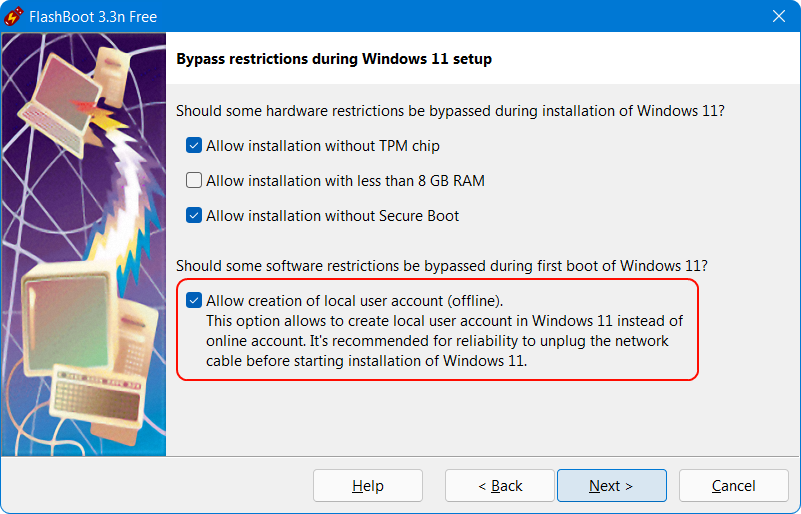
Using FlashBoot Free, you can prepare Windows 11 Setup media with these modifications permanently baked in to the Windows Registry. Starting from version 3.3n, FlashBoot displays the following page when preparing Windows 11 installation USB thumbdrive (by default, all these options are unticked):
| About us | Partners | Contact us | Privacy policy |