How To Change Disk Controller Mode From IDE to AHCI Without Reinstalling Windows
Disk controller for SATA HDDs and SSDs can operate in both AHCI and IDE compatible mode, and usually can be reconfigured in the BIOS setup. AHCI mode is faster, has more features, and totally makes sense for modern operating systems. Unfortunately, if you forgot to switch from IDE to AHCI before installing Windows Vista/7/8.x/10/11, then you will get a BSOD (blue screen of death) during the next boot, whenever you switch.
This article explains how to switch disk controller from IDE to AHCI mode after installation of Windows, change from IDE to AHCI without reinstalling Windows.
| Contents |
1. Intended audience
This article is for users who want to switch SATA controller from IDE-compatible mode (aka ATA-compatible mode) to AHCI mode without reinstalling Windows.
Primary motivation for such a switch is to gain additional performance from disk I/O (SATA NCQ), especially for SSD hardware. Also recommendations from this article are useful in dual-boot configurations, where other OS must use SATA controller in AHCI mode, and Windows as a first OS is using SATA controller in IDE mode.
2. Check prerequisites
- Make sure your operating system is not Windows XP. If you are using Windows XP, then read this article.
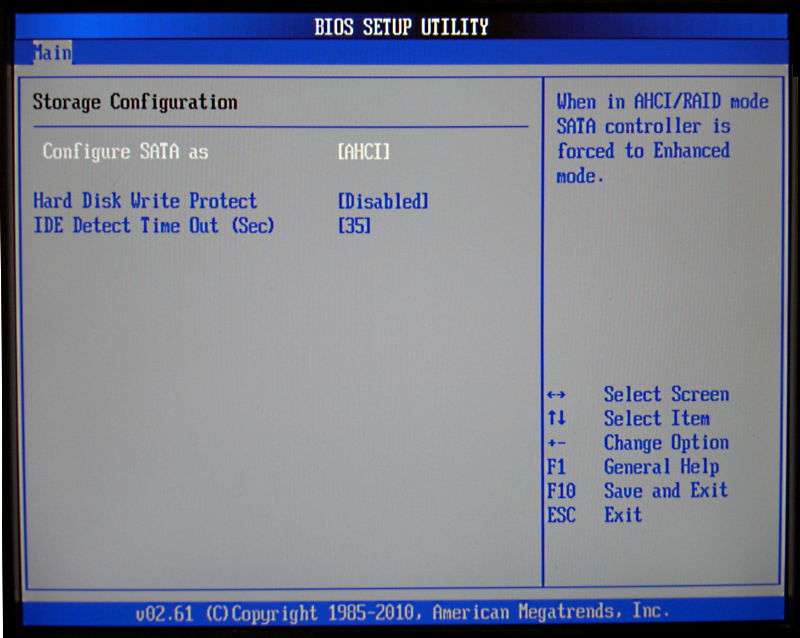
- Reboot your PC, enter BIOS setup (press DEL or F1) and make sure that currently SATA controller is configured in IDE mode; and support of AHCI mode exists in BIOS.
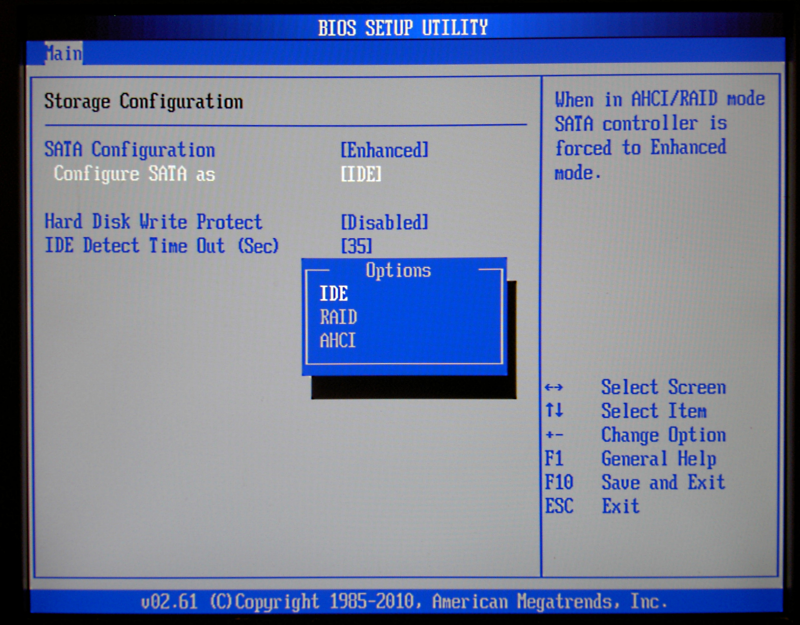
3. Switch from IDE mode to AHCI by editing registry
1) Download Emergency Boot Kit and deploy it to USB thumbdrive. Set up your BIOS to boot from USB thumbdrive.
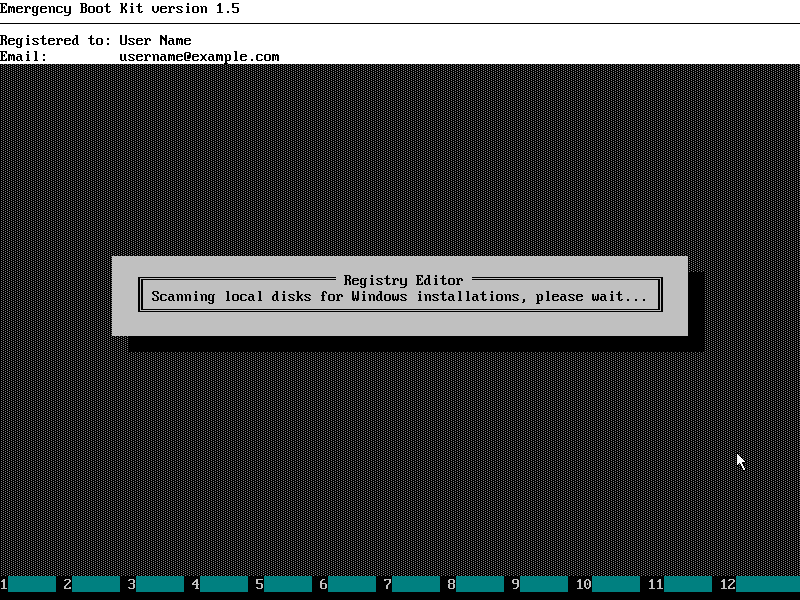
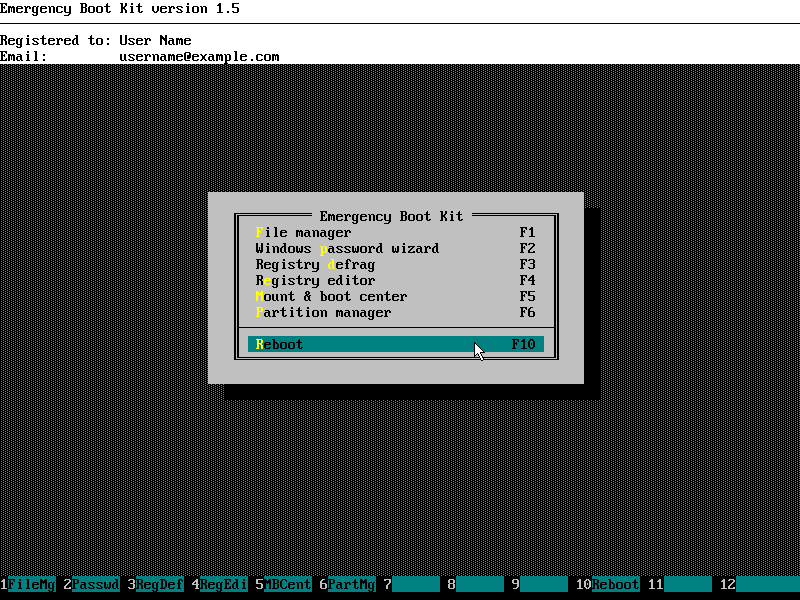
2) Run Emergency Boot Kit Registry Editor.
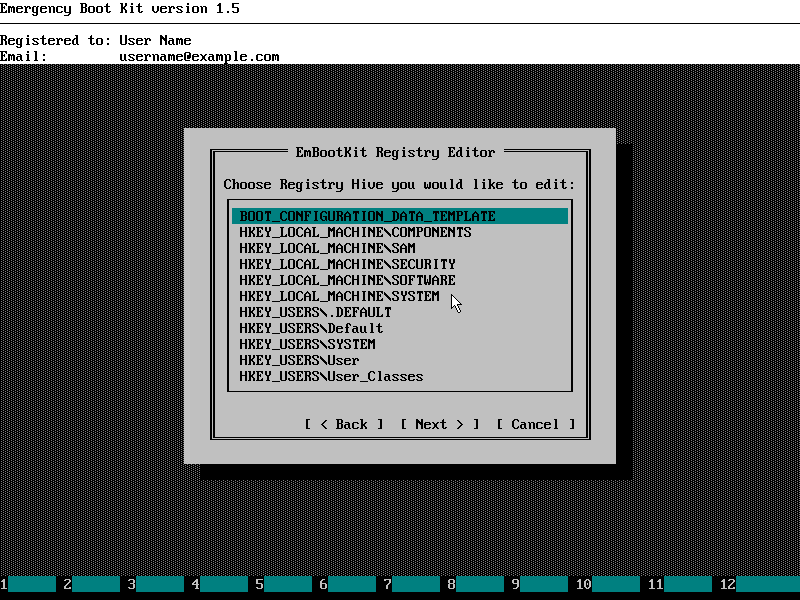
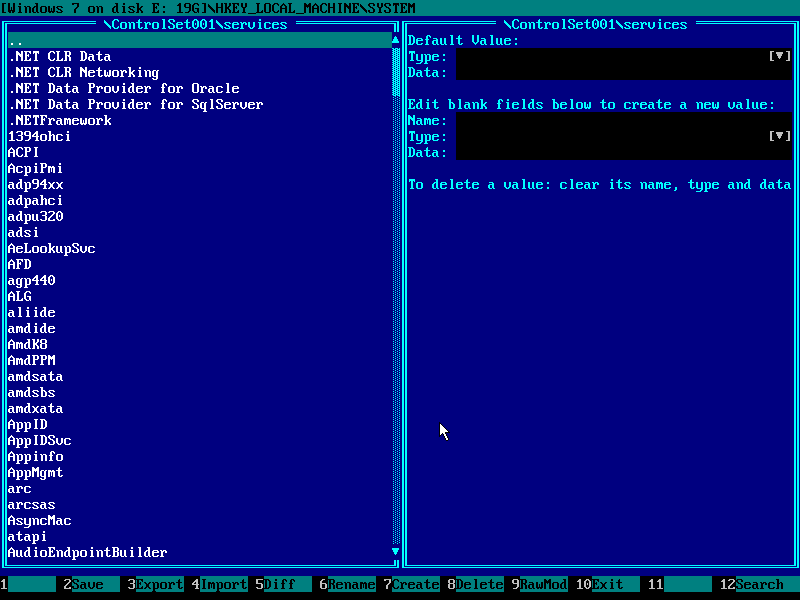
3) Open HKEY_LOCAL_MACHINE\SYSTEM registry hive

4) Note the value of Select\Current (NNN).

5) Go to registry key ControlSetNNN\Services\msahci:
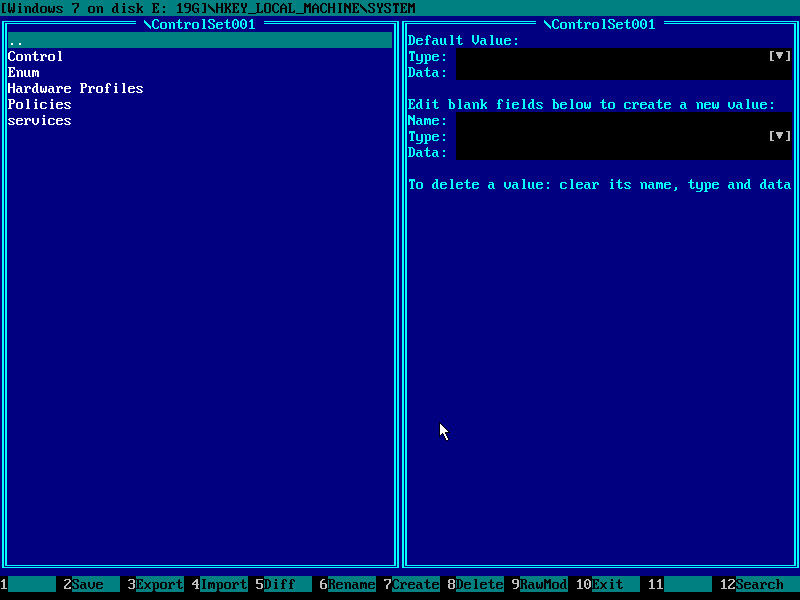
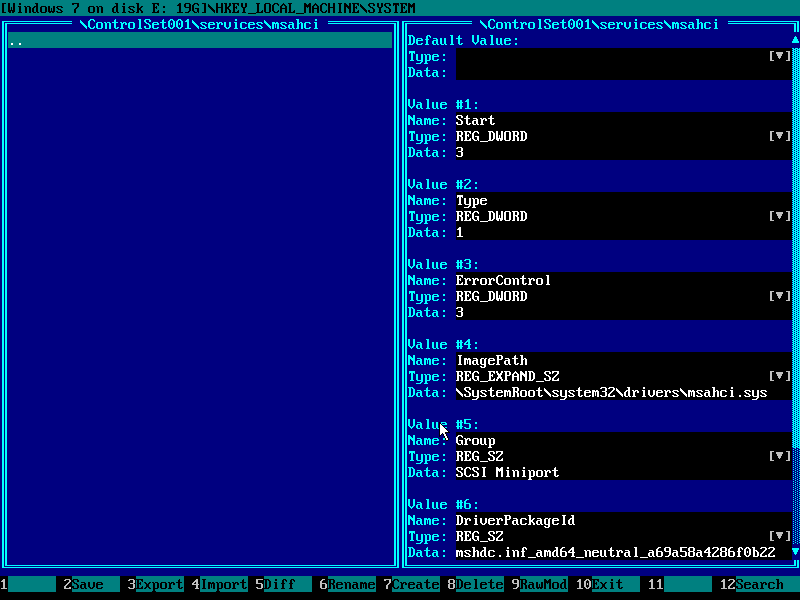
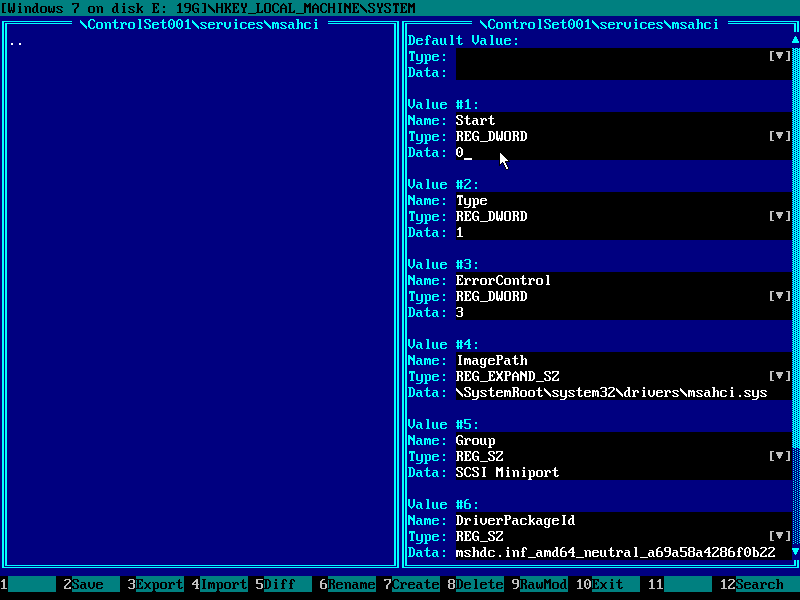
6) Set value Start=0 (it means "loaded by kernel loader").
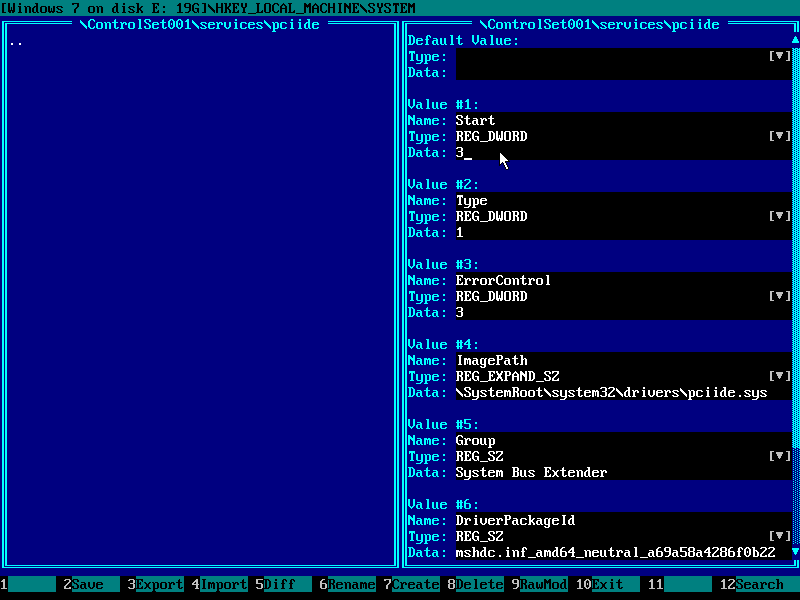
7) Go to registry key ControlSetNNN\Services\pciide:
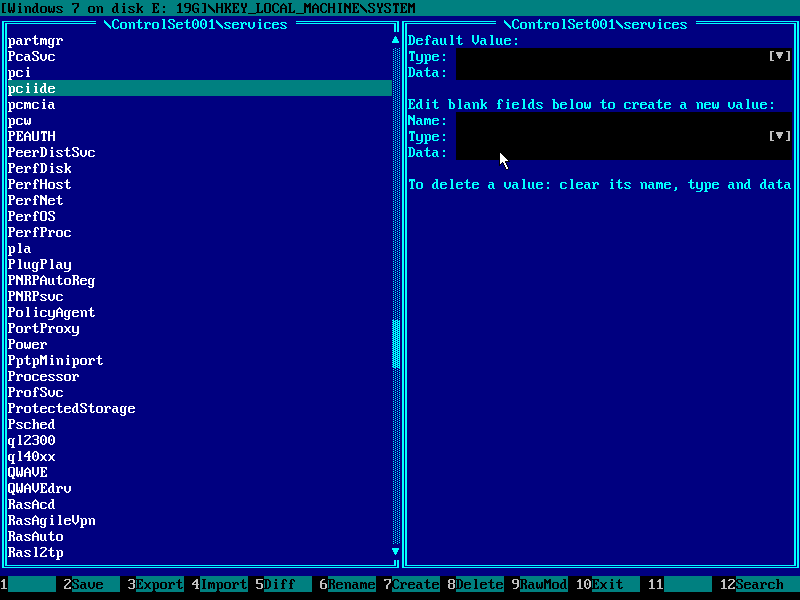

8) Set value Start=3 (it means "started manually"):
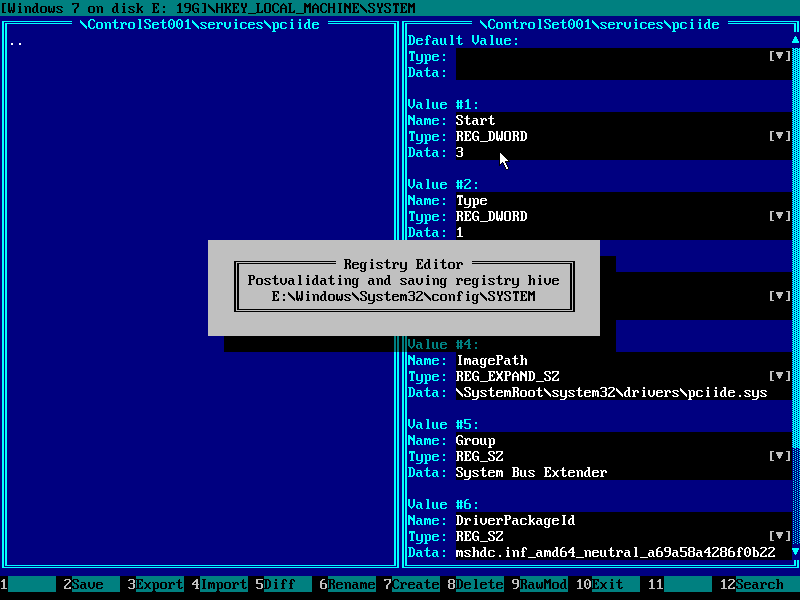
9) Save changed registry hive HKEY_LOCAL_MACHINE\SYSTEM to disk (F2) and exit Emergency Boot Kit Registry Editor.
10) Choose to reboot in the main menu of Emergency Boot Kit, go to BIOS setup and switch SATA controller to AHCI mode before Windows is loaded, otherwise you get BSoD with stop code 0x0000007B: INACCESSIBLE_BOOT_DEVICE.
4. How to undo (switch back from AHCI to IDE mode)
1) Run Emergency Boot Kit Registry Editor.
2) Open HKEY_LOCAL_MACHINE\SYSTEM registry hive
3) Note the value of Select\Current (NNN).
4) Go to registry key ControlSetNNN\Services\pciide and set value Start=0 (it means "loaded by kernel loader").
5) Go to registry key ControlSetNNN\Services\msahci and set value Start=3 (it means "started manually").
6) Save changed registry hive HKEY_LOCAL_MACHINE\SYSTEM to disk (F2) and exit Emergency Boot Kit Registry Editor.
7) Choose to reboot in the main menu of Emergency Boot Kit, go to BIOS setup and switch SATA controller to IDE mode before Windows is loaded, otherwise you get BSoD with stop code 0x0000007B: INACCESSIBLE_BOOT_DEVICE.
5. Versions of Windows this article applies to
This article applies to all versions of Windows after Windows XP: Windows Vista, Windows 7, Windows 8.x and Windows 10/11 (both 32-bit and 64-bit editions), as well as equivalent Windows Server operating systems.
| About us | Partners | Contact us | Privacy policy |